
Create a YouTube Channel for Your Church: A 3-Step Guide

Creating a YouTube channel for your church is one of the most effective ways to extend your ministry’s reach beyond Sunday mornings—especially to new visitors, homebound members, and those exploring faith online.
When I set up my first church YouTube channel 15+ years ago, I quickly ran into obstacles: video quality was inconsistent, upload schedules slipped, and our content didn’t reflect the heart of our ministry. I’ve since walked through the process of launching channels that actually serve their communities several times.
With the right setup—clear goals, simple equipment, and a plan for content—you can bypass the frustration I went through and build something that lasts. This guide walks you through each step, from setting up your channel to producing content that connects. With practical tips and tested tools, you’ll learn how to avoid common mistakes, present your church authentically, and grow a channel that strengthens your outreach.
Sidenote: be sure the church streaming service you and your team select works well with YouTube!
First: Why Your Church Needs a YouTube Channel
The Power of Online Ministry
YouTube lets your church impact lives beyond Sunday morning. Whether it’s homebound members, travelers, or people exploring faith, your videos can reach those who may never walk through your doors. It’s a 24/7 ministry tool that supports discipleship, evangelism, and community building.
Staying Connected During the Week
A YouTube channel isn’t just for Sunday sermons. It can serve as a valuable tool for keeping your congregation engaged. Consider posting these types of content throughout the week:
- Midweek Devotionals – Short messages that offer encouragement, insight, and biblical wisdom for daily life.
- Q&A Sessions – Answer faith-related questions from your congregation in an interactive and engaging format.
- Prayer Meetings – Create a space where members can submit and join in prayer requests virtually.
- Leadership Updates & Announcements – Keep members informed on church events, changes, and important community updates.
Boosting Visibility & Outreach
When people search for a church online, YouTube can help them find yours. Optimized videos can rank in search results, making it easier for new visitors to discover your ministry.
Jay Kranda, Online Pastor at Saddleback Church, has this to say about reaching people online, “People now can experience what happens in that church building without ever stepping into the facility. Church Online becomes a huge marketing tool for those who would never walk through your doors."
I've lost count of how many times I've heard from someone who watched us online, then shows up in person. They sometimes sayt something like, “I had no idea this church was so close! A friend shared the website, and I got to see what actually happens here each week.”
If done right, an online service isn’t just a livestream—it’s a front door. It can grow your local church.
Joshua gordon
Here are some ways YouTube improves your church’s visibility:
- Search Engine Optimization (SEO): Well-tagged videos improve discoverability, helping people find your church online.
- Local SEO Benefits: Videos with location-based keywords help nearby searchers connect with your church faster.
- Discoverability: Engaging, relevant content increases watch time and make your videos more shareable.

Getting Started – Setting Up Your Church’s YouTube Channel
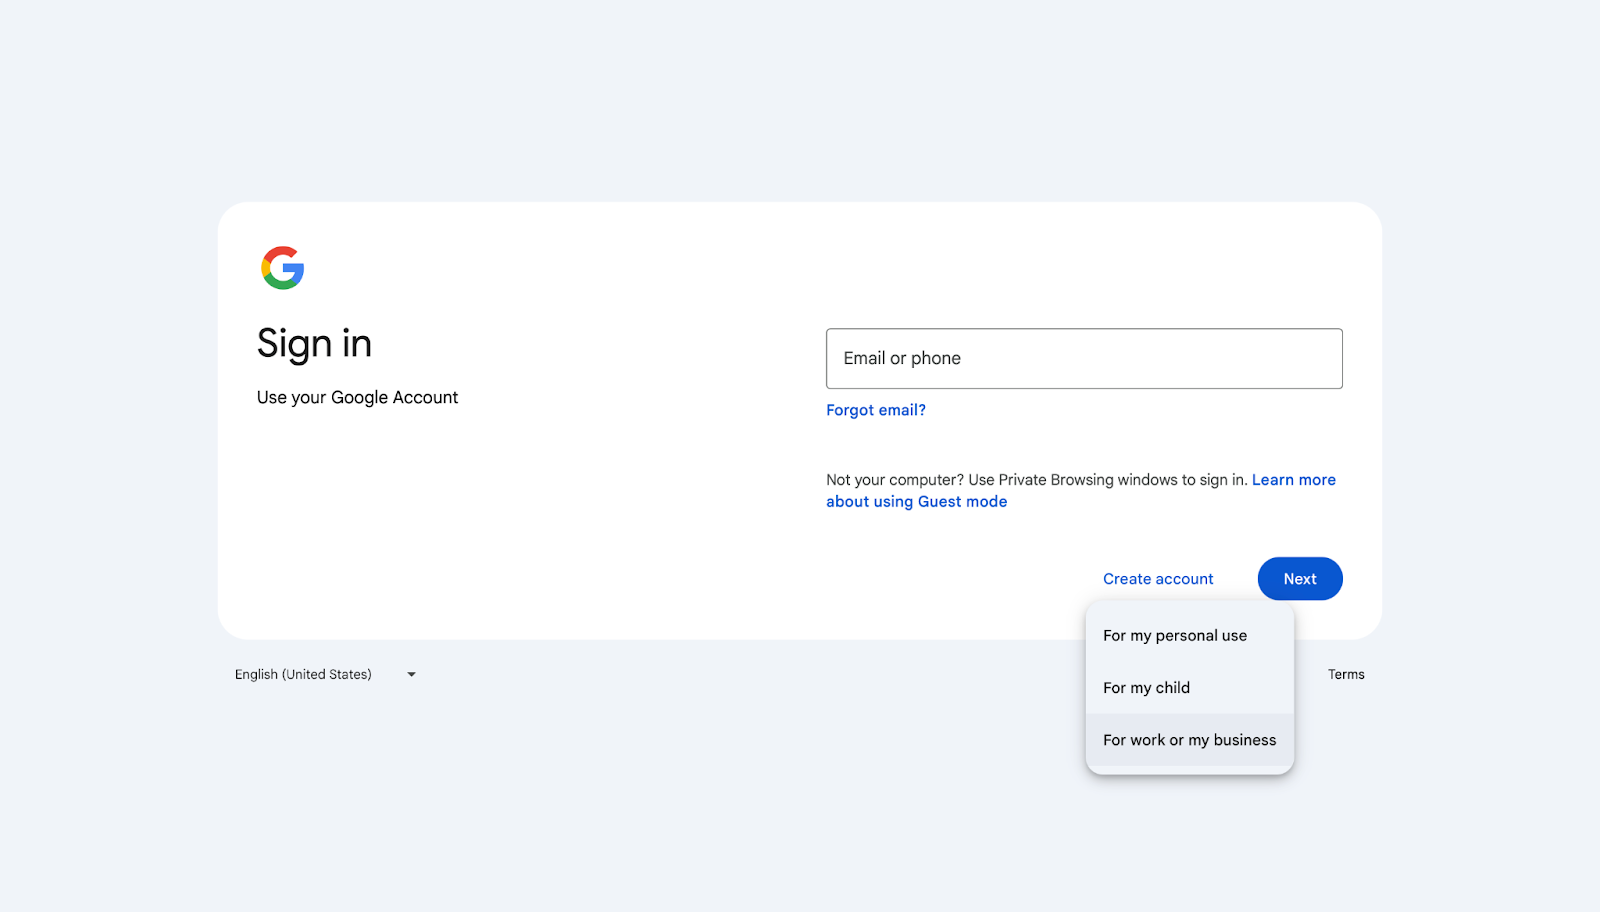
Step 1: Create a Google Account for Your Church
Before you can start a YouTube channel, you need a Google account... useful for a ton of things (exploring Google's Ad Grant for churches being one). But, if your church doesn’t have one, create an account using a dedicated church email (not a personal one) to keep things organized and secure.
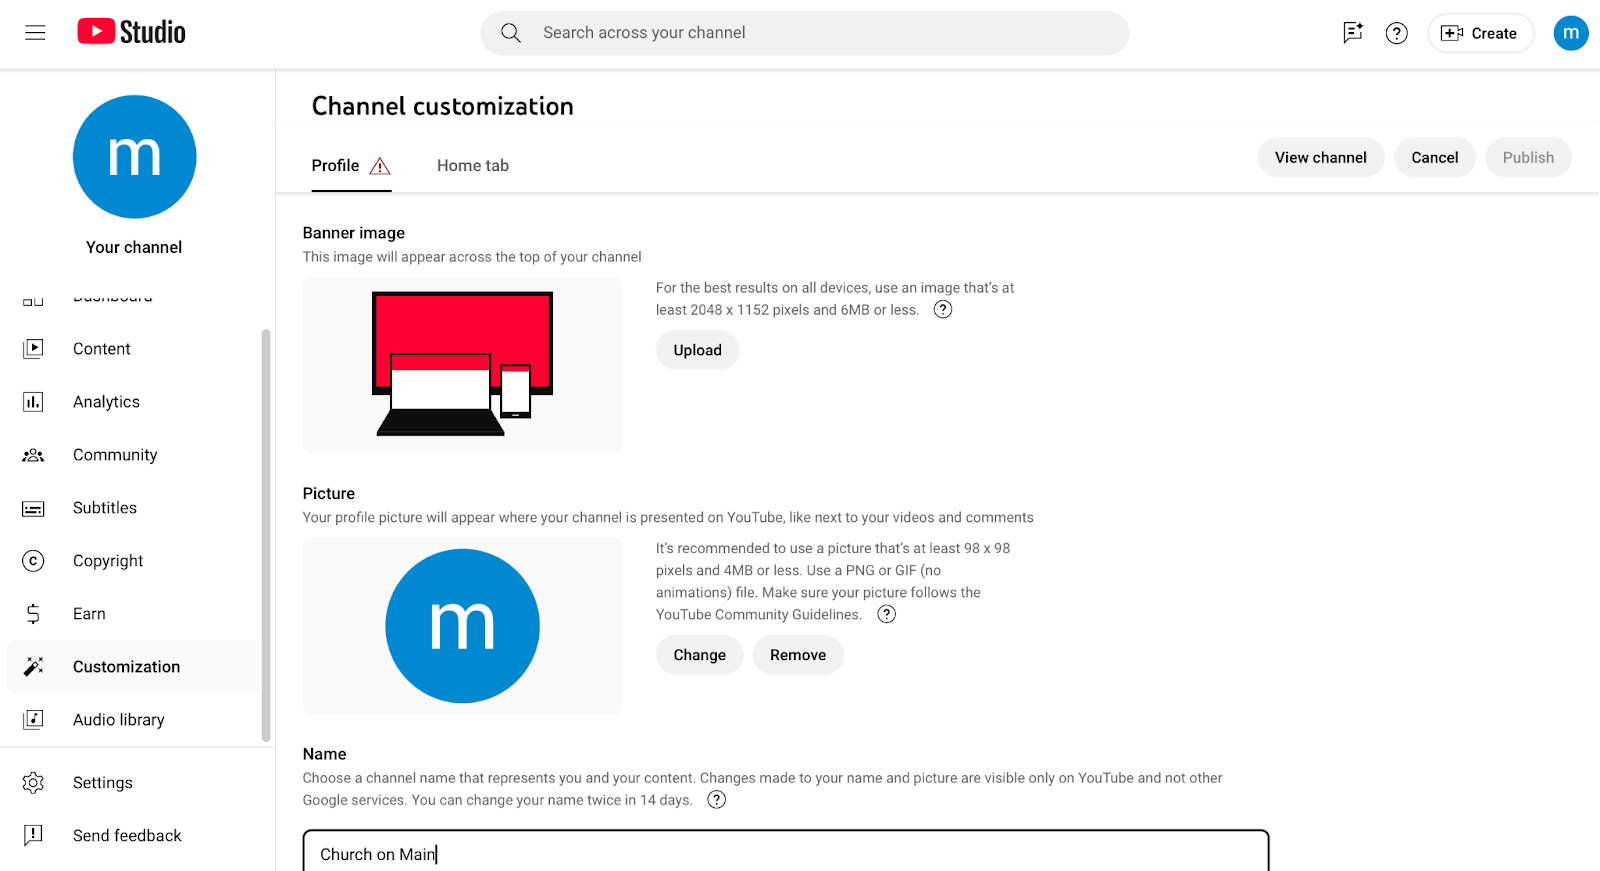
Step 2: Create Your Church's YouTube Channel
With your Google account created, the actual step of creating your church YouTube channel is fairly straightforward. Follow these steps:

- Go to YouTube.com – Navigate to YouTube and click on your profile icon in the top right.
- Select "Create a channel." – Follow the on-screen instructions to set up a new church channel.
- Choose a church-friendly name – Pick a name that reflects your church’s identity and mission.
- Upload a profile picture – Use your church logo to make the channel instantly recognizable.
- Add a channel description – Include your church’s mission, service times, and website for easy access.
- Link to your church’s website and social media accounts. – Connect all platforms to increase engagement and visibility.
Step 3: Optimize Your Church YouTube Channel Settings
To maximize your channel’s effectiveness, take a few moments to adjust these settings:
- Permissions: Assign admin roles to trusted team members so they can help manage and update content.
- Privacy Settings: Control comments, embedding options, and video visibility to suit your church’s audience.
- Branding Features: Use watermarks, custom URLs, and channel sections to create a professional and cohesive look.
Content Ideas for Church YouTube Channels
Now that your church youtube channel is created, start adding content. Share the word about your new channel, and encourage your church to like and subscribe for updates on new content.

Live Streaming vs. Pre-Recorded Videos
Both live and pre-recorded videos have their advantages. Consider which format works best for your church:
- Live Streaming – Enables real-time interaction, allowing viewers to engage during sermons and events.
- Pre-recorded videos – Provides higher production quality with editing, making content more polished and professional.
Sermons, Devotionals, and Bible Studies
You've created a church youtube channel - it's time to fill it with regular content keeps your audience engaged. Here are a few video ideas:
- Full Sermons – Upload weekly services for those who can’t attend in person, keeping them connected.
- Shorter Clips – Share impactful sermon highlights, making it easier for members to revisit key points.

- Bible Study Series – Offer structured teaching with lessons on specific books, themes, or theological topics.
Testimonies, Worship Music, and Community Stories
Your church’s story is powerful. Use video to highlight personal testimonies and worship moments:
- Member Testimonies – Feature real-life stories of faith, transformation, and God’s work in people’s lives.
- Worship Sessions – Share full worship sets or individual songs to inspire and uplift viewers.
- Community Impact Stories – Highlight your church’s outreach programs, showcasing how you serve others.
Technical Setup – Equipment and Software You Need
Cameras, Microphones, and Lighting
Quality matters, but you don’t have to break the bank. Here are three budget levels to consider for your church streaming equipment setup:
- Budget Option ($50-$200): A smartphone with a tripod and an external microphone provides clear, stable video and decent audio quality.
- Mid-Range Option ($200-$800): A USB microphone, a high-quality webcam, or an entry-level DSLR camera will significantly improve both audio and visual clarity.
- Professional Setup ($800+): A dedicated streaming camera, a high-quality microphone, and proper lighting ensure the best production quality for professional results.
Keep in mind, the best strategy for your church is something that both suits your community and its unique culture. The folks at Missional Marketing have given some tips on optimizing your online presence.
Instead of competing with large-church production values, focus on authenticity and connection. Your church’s digital presence should reflect your actual community and resources, not an idealized version that might feel inauthentic to visitors.
MissionalMarketing.com
Streaming and Editing Software Recommendations
Editing and streaming software can make a big difference in video quality. Consider these options:
- Streaming: OBS Studio (free), Ecamm Live (Mac), StreamYard (easy for beginners with a simple interface).
- Editing: iMovie (free for Mac), DaVinci Resolve (free, feature-packed), Final Cut Pro (paid, advanced tools).

More Articles
Tips for Recording High-Quality Church Videos
Good production values help retain viewers. Keep these tips in mind:
- Use natural lighting or softbox lights – Proper lighting enhances video clarity and gives a warm, inviting feel.
- Position the camera at eye level – This angle creates a more natural, personal connection with the audience.
- Minimize background noise – Using a dedicated microphone will ensure clear, professional-sounding audio without distractions.
Final Tips & Encouragement for Church Leaders
You don’t need fancy equipment or video expertise to succeed on YouTube. The key is consistency and authenticity. Start simple, learn as you go, and focus on serving your audience. Your church has a message worth sharing—don’t wait. Start your YouTube channel today.